¶ Introduction
Tools allows users to manage notes, knowledge base, reservations and generate reports.

¶ Reminders
Private or public notes are managed from the Tools > Reminders menu.
From this page you can control such things as note expiration or whether or not it should appear in the Planing section.
Notes entered appear on the ALCM welcome page, or in the Planning section.
It is possible to determine a visibility start and end date for each note. If the start date is not entered, the note will be visible immediately until the end date. If an end date is not specified, the note will be permanently visible from the start date.
A note is considered private by default. It is only visible to it's creator. In order to make a note visible to other users (public), it is necessary to select one or more targets. The targets correspond to entities, profiles, groups, o users who can see the note. A public note is visible to users belonging to a profile which has access to view public notes.
Adding a note to the calendar allows it to appear in the Planning of the users concerned: that of the user for a private note, and that of all users in the case of a public note.
A note listed in the Planning is not deleted once the expire date is reached.
It is possible to define a reminder for the note before it's start and end date. Notifications must be active in order for this to work.
It is also possible to associate one or more documents to a note.
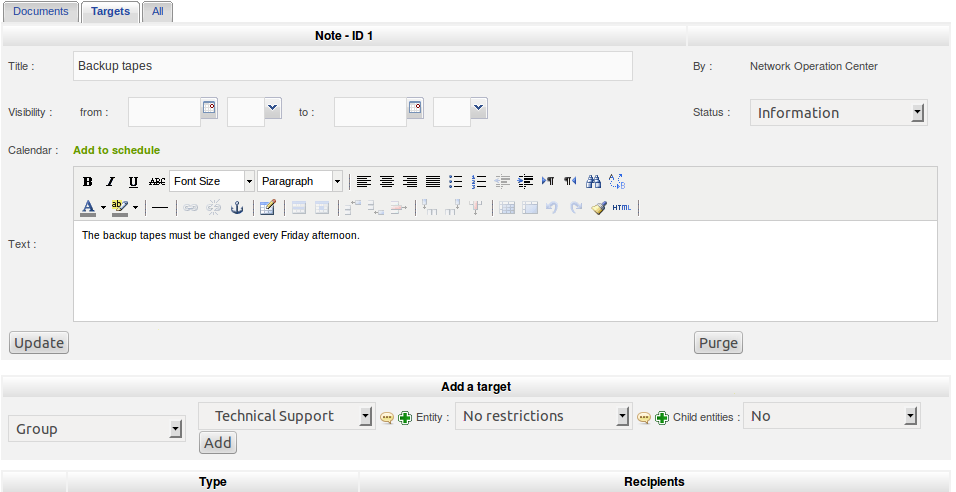
Here is an example of a note:

¶ Knowledge base
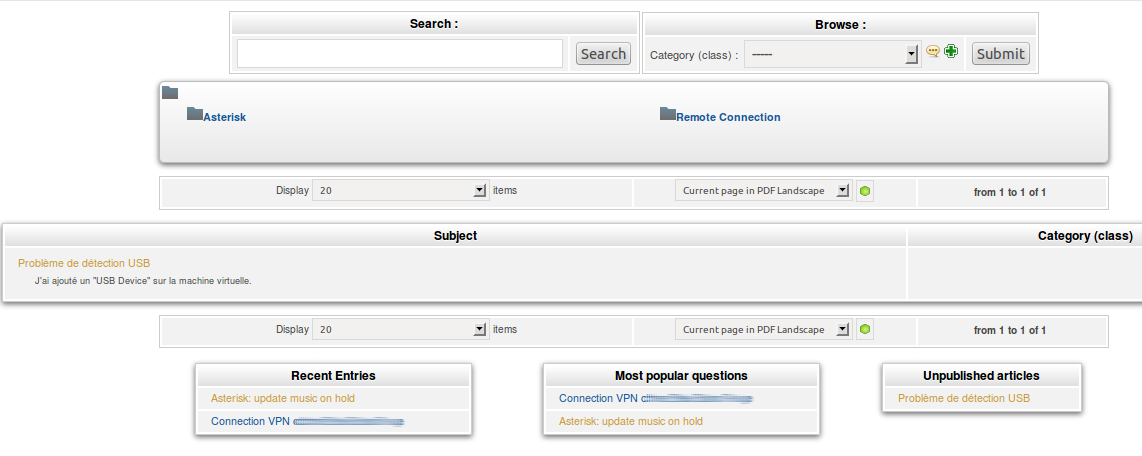
The Knowledge base can be accessed from Tools > Knowledge base, and has two main purposes:
The first is to make information available internally to technicians.
The second is to to make information available to public users (FAQ) to help them solve problems on their own.

Only elements from the public FAQ are visible via the simplified public interface. The elements which are not defined as being part of the public FAQ are only viewable in the main interface, by technicians for example. For each article in the Knowledge base or the FAQ, it is necessary to select one or more targets.
If no targets have been selected, the article is only visible to it's creator. The article is considered non published and appears in the Unpublished Articles table in the Knowledge Base welcome page. It is possible to associate one or more documents with Knowledge Base articles.
It is possible to create categories and sub-categories in order to organize navigation. The users can use several modes to search and navigate the Knowledge Base using the search or browse options.
The search engine used for the Knowledge Base allows you to use certain operators to perform more complex searches.
+ - ~ < > * ” ” ()
+ The word must be present.
The word must not be present.
- * Truncate operator
- “ ” A phrase within double quotes is searched literally, as entered.
- <> Allows you to specify a search order preference.
- () useful for grouping items wrapped in < > tags.
Examples :
- 'printer failure' : Search for lines which contain at least one of these words.
- '+printer +failure' : Search for lines which contain both of these words.
- '+mail thunderbird' : Search for lines which contain the word mail, but class lines which also contain the word 'thunderbird' higher in the results.
- '+mail -outlook' : Search for lines containing mail by not outlook.
- * '+mail +(>thunderbird <outlook)' Search for lines containing the words mail, thunderbird, and outlook, but class lines containing thunderbird higher than those containing outlook.
- 'open*' : Search for lines containing words such as openoffice, openwriter, openbar, etc.
- '“openoffice suite”' : Search for lines containing the exact phrase 'openoffice suite'.
¶ Adding a Knowledge Base article
Here are the stops for adding an article:
Go to Tools > Knowledge base
Click the + sign located in the horizontal menu
Fill in the required fields
Click Add
¶ Adding targets to a Knowledge Base article
Targets allow you to control who has access to the article
Go to Tools > Knowledge base
Optional : Search for an article.
Click on an article, then go to the Targets tab
Select one or more targets (entities, profiles, groups, or users).
Click Add.
¶ Associating a document with a Knowledge Base article
Go to Tools > Knowledge base
Optional : Search for an article.
Click on an article, then go to the Documents tab
Browse for a document and fill in the necessary information.
Click Add.
¶ Reservations
This section allows you choose and reserve hardware from a list.
It is possible to add comments to the reservable hardware by clicking the comments link.
In order to make hardware reservable, you must first go to the Inventory section and select the hardware to be reserved:
Step 1: Click a hardware item to enter the management page for that item.
Step 2: Go the Reservations tab and click Authorize reservations.
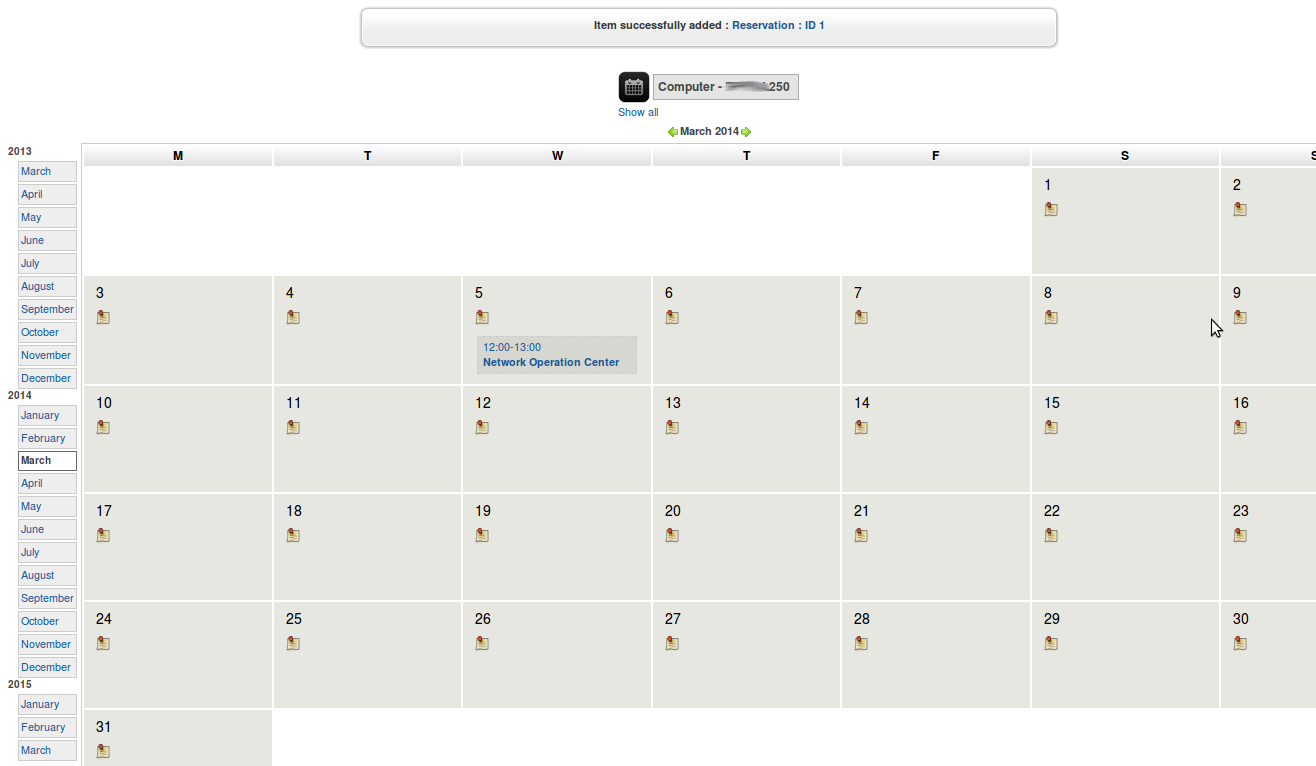
You can now reserve the item either by clicking the Current and future reservations link that appears at the bottom of the current page, or you can go back to the Tools→reservation section and select the item from the list of reservable hardware (see image below)

To add a reservation in the planning, click the calendar icon.

If you use the option to repeat daily, do not enter a stop date.
¶ Reports
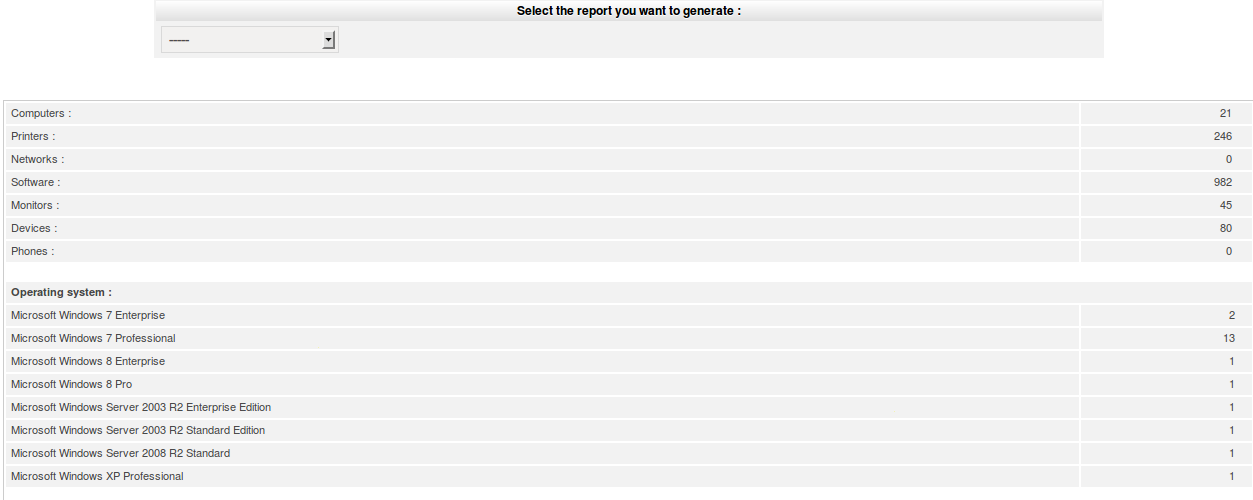
This page allows you to generate various types of reports about your hardware and software assets.
