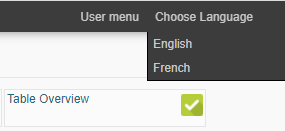
¶ Options
The options tab lets you manage backgrounds, maps, and shapes. From this menu, you can create, add, rename, or delete background images, maps, or shapes.
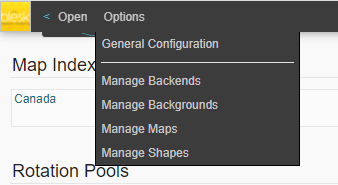
¶ Manage Backgrounds
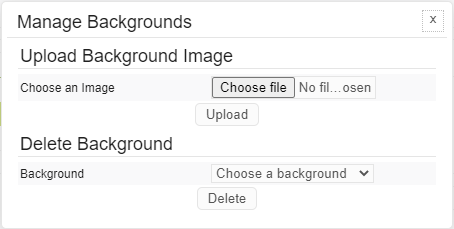
The “Manage Backgrounds” option lets you manage backgrounds images that you wish to integrate into your design. Two actions are available in the manager: upload an image to use as a background or delete a background.
Creating a background is usually the first step when creating a new map.
¶ Upload an image to use as a background
As a background image, You can use an image that you have created using an image manipulation program or from a Visio chart. To do this, click the “Browse” button, select your image, and click the “Upload” button. Images can be in PNG, JPEG, or GIF format.
¶ Delete a background image
To delete a background image, select it from the pulldown menu and click the “Delete” button. The image will automatically be removed from all the previously created views in which it is used.
¶ Manage Maps
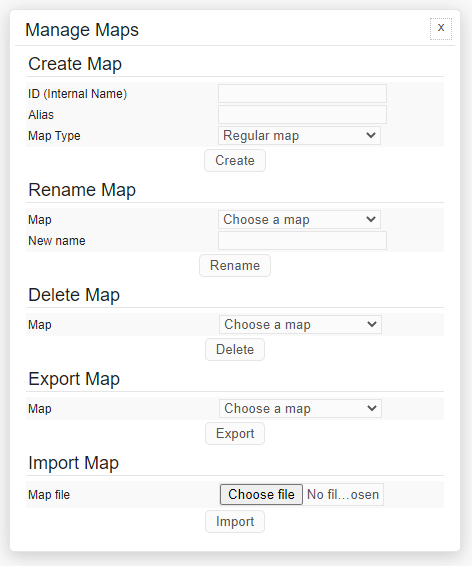
The “Manage Maps” option lets you manage maps. A map represents the canvas on which you will create your graphics. It will later automatically appear in the “Open” tab. Five actions are available in the manager: create, rename, delete, export and import a map.
Creating a map is usually the second step after creating a background.
¶ Create a map
To create a map, you need to give it a name, then choose the size (big, medium, small) of the icon to use from the “Map Iconset” pull down menu. Next, from the “Background” pull down menu select the background image created previously under the “Manage Backgrounds” options menu. Icons are used to represent hosts or services on the map, and the background image is used as the wallpaper for the map.

¶ Rename a map
You can rename a map by selecting the name of the map you wish to rename from the “Select map” pull down menu. Then, in the “New name” field provide a new name for the selected map and click the “Rename” button. This will only affect the map name, and not any titles within the map that may have the same name.

¶ Delete a map
To delete a map, select it from the “Select map” pull down menu and click the “Delete” button. Maps that have been deleted cannot be retrieved.

¶ Export or Import a map
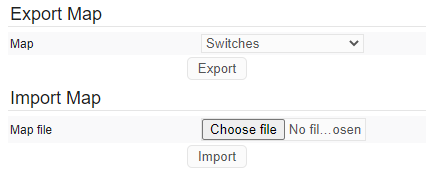
Exporting a map means exporting its configuration file, and Import is for importing a configuration file. You may need to export a map configuration to create a backup, or to import it into another system.
¶ Manage Shapes
The “Manage Shapes” option lets you manage shapes. A shape can be any image representing a device or other element on your map. Shapes are used to design the map with objects. Two actions are available in the manager: upload or delete a shape (image).
Managing shapes, for example uploading images to use in your map, is usually the third step after you have created a map.

¶ User management
The User menu tab lets you users to assign in a user group. It is from within this tab that you can fine tune the login process and which map views are allowed for specific users. From this tab, you can control what users can do and which actions they can perform on a map.
¶ Manage Users
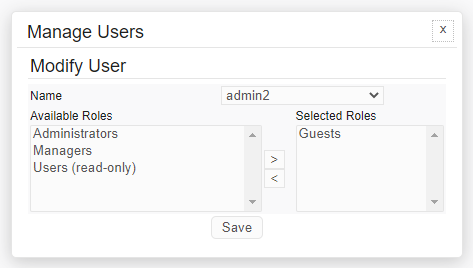
Using the “Manage Users” option you can modify the role of an existing user.
¶ Modify Users
You can modify the role of a user by selecting the username from the “Select User” pull down menu, and then choosing from the “Available Roles” box the type of permission you wish to assign to this user. From the “Selected Roles” box, you can also select the type of permission you wish to remove for this user. Remember that roles are created in the Manage Roles menu.
¶ Manage Roles
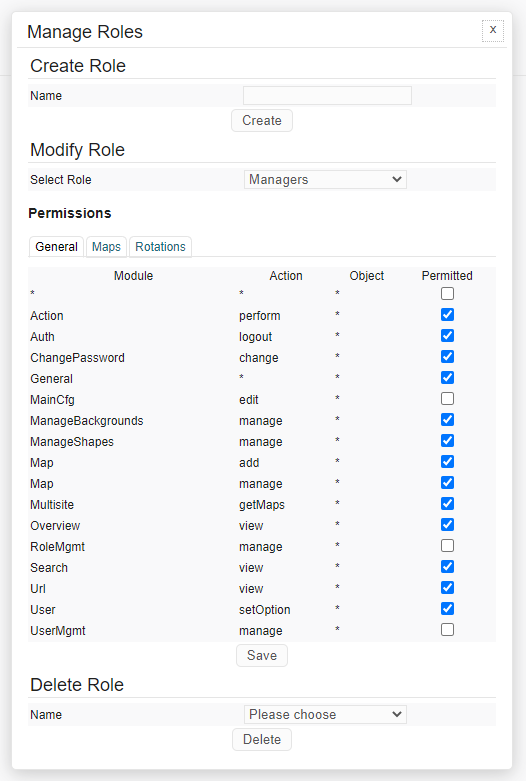
With the “Manage Roles” option you can create, modify, or delete roles. All roles that you create here, will only apply to the Network Map section (this plugin) of APM.
¶ Create Role
To create a new role, enter its name in the “Role Name” field and then click the “Create Role” button. This will create the new role and add it to the list of available roles.

¶ Modify Role
The “Modify Role” directive lets you modify or set permissions of existing and new roles. Select the role name that you wish to work with from the “Select Role” pull down menu. Next, set the allowed permissions for each “module”, the related “action” and click the “Modify Role” button.
¶ Delete Role
To delete a role, select the role from the “Role Name” pull-down menu and click the “Delete Role” button.
¶ Choose Language
The “Choose Language” tab lets you choose the language you want to use for the display of the software. You have the choice between English, German, and French. Changes are applied directly and don't need to be saved, as the information is stored in your browser's cookies.
